

How To Repair Nintendo Switch Joy Con Thumbstick Drift
How to fix Joy-Con migrate on Nintendo Switch
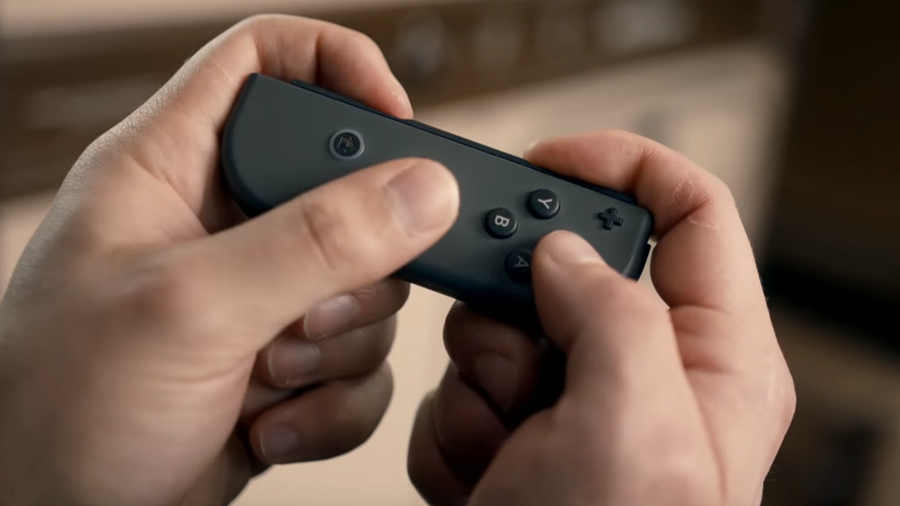
Getting your Joy-Con back in fighting shape.
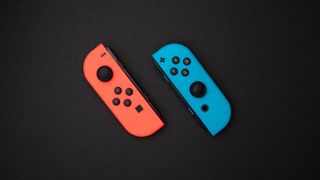
(Image: © DionVideoProductions / Shutterstock.com)
Wondering how to prepare Joy-Con migrate on your Nintendo Switch? And so you've landed on the right page. The Nintendo Switch is a beloved console, but while it – and its sibling the Switch Lite – continues to sell out around the world, ane dreaded problem remains: Joy-Con migrate.
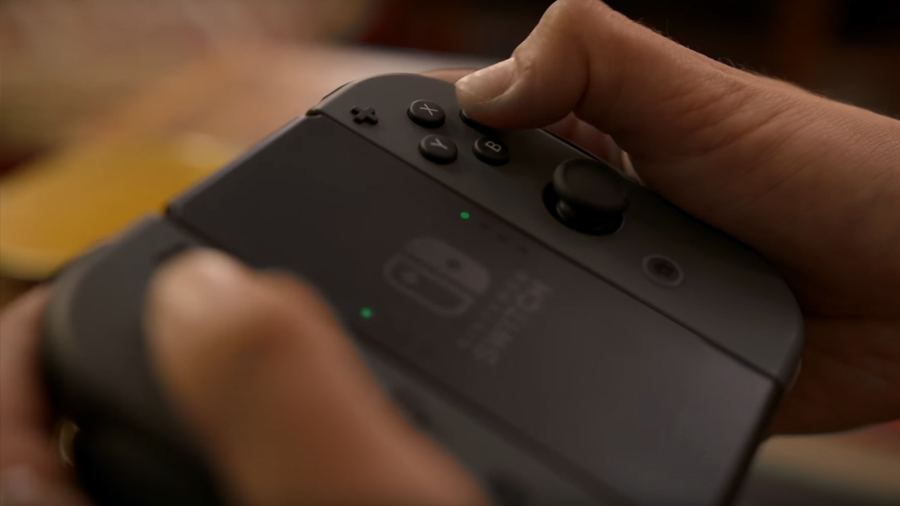
Joy-Con drift happens when the Joy-Con'south thumbstick detects motion, even when the player isn't touching the Joy-Con. During gameplay, characters can wander off, mis-select items, and struggle to make precise moves. In more than dramatic terms, Joy-Con drift makes your Switch feel possessed past an unseen mitt. While Switch owners can purchase new Joy-Cons as a pricey solution, the Switch Low-cal, unfortunately, does not take detachable Joy-Cons.
Joy-Con drift is such a widespread event that Nintendo'southward president, Shuntaro Furakawa, made a rare move to apologize for its troubled products, and even addressed the ongoing US form-action lawsuit over drifting Joy-Cons.
Fortunately, we're here to tell you how to gear up Joy-Con migrate at home. Exercise go on in heed that messing with the internal parts of your Switch tin can exist risky, and tin fifty-fifty void your warranty.
- Best Nintendo Switch games: the most essential Switch releases
- All-time Nintendo Switch accessories 2022: make the virtually of your Switch
- Nintendo Switch ii: what we want to encounter from a Nintendo Switch Pro
Method 1: update your Joy-Cons
The first step in trying to fix Joy-Con drift is to update your Joy-Cons. With both Joy-Cons attached to the principal panel, head to 'Arrangement Settings'. Select 'Controllers and Sensors', then 'Update Controllers', and press the A push. This should ensure that you have the latest Joy-Con firmware installed.
Method ii: recalibrate your Joy-Cons
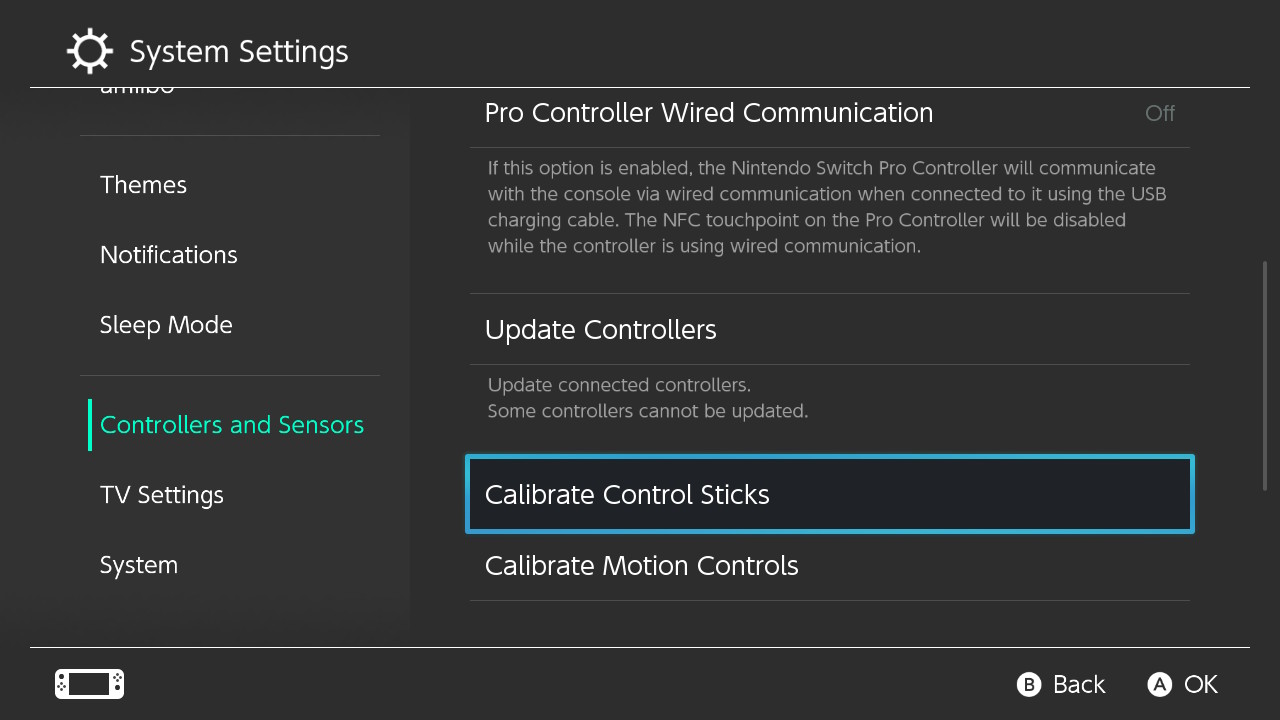
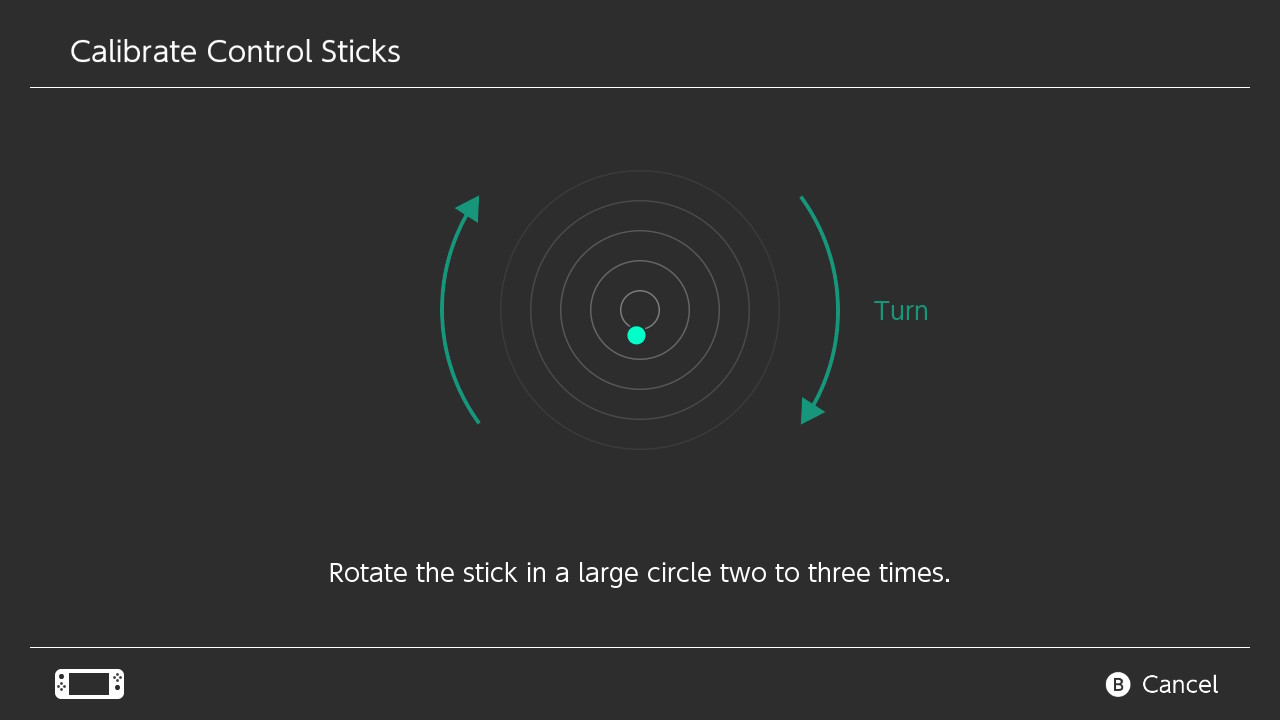
Disassemble your Joy-Cons from the main console and recalibrate them one at a time. Beginning, head to 'Arrangement Settings'. Select 'Controllers and Sensors', then 'Calibrate Control Sticks'. This takes you to a series of simple tests, which tin be a little viscous if your Joy-Con isn't cooperating.
The starting time test requires you to check the responsiveness of a floating signal in a reticle. The bespeak should display as a '+' when the thumbstick is not being touched. When you plough the thumbstick, the border of the reticle'south circumvolve should plow green. If the Joy-Con thumbstick isn't performing correctly, press the X button to recalibrate the Joy-Con.
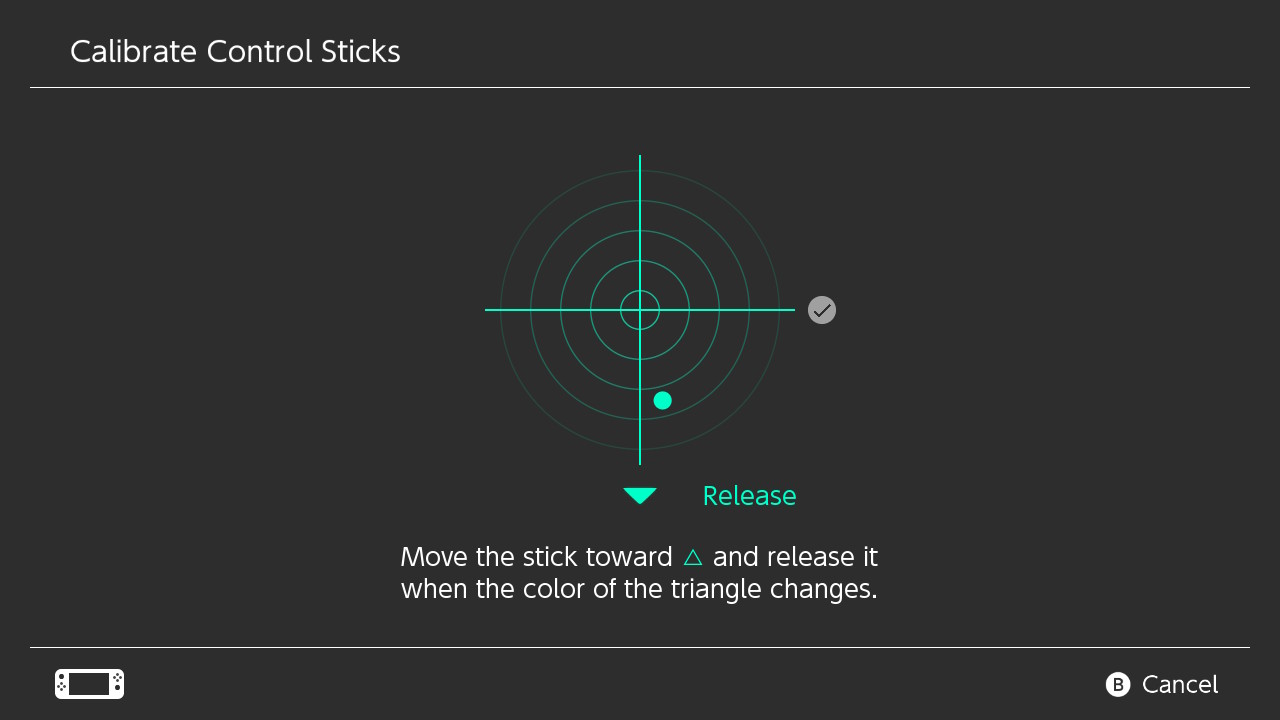
The next exam involves a more detailed signal and reticle. Button the stick toward the triangular arrow and release it when the triangle changes color. You volition have to perform this same task at all four cardinal points of the reticle to complete the test.
Next, rotate the thumbstick in a 'large circumvolve' ii to 3 times. Keep the floating signal as close to the outermost edge of the circumvolve every bit possible – a green line volition appear to indicate that you lot're doing it correctly, and disappear if the point strays besides close to the heart of the circle. This was especially challenging for our ailing Joy-Con, and so we had to apply a fiddling more force per unit area (gently!) with both hands.
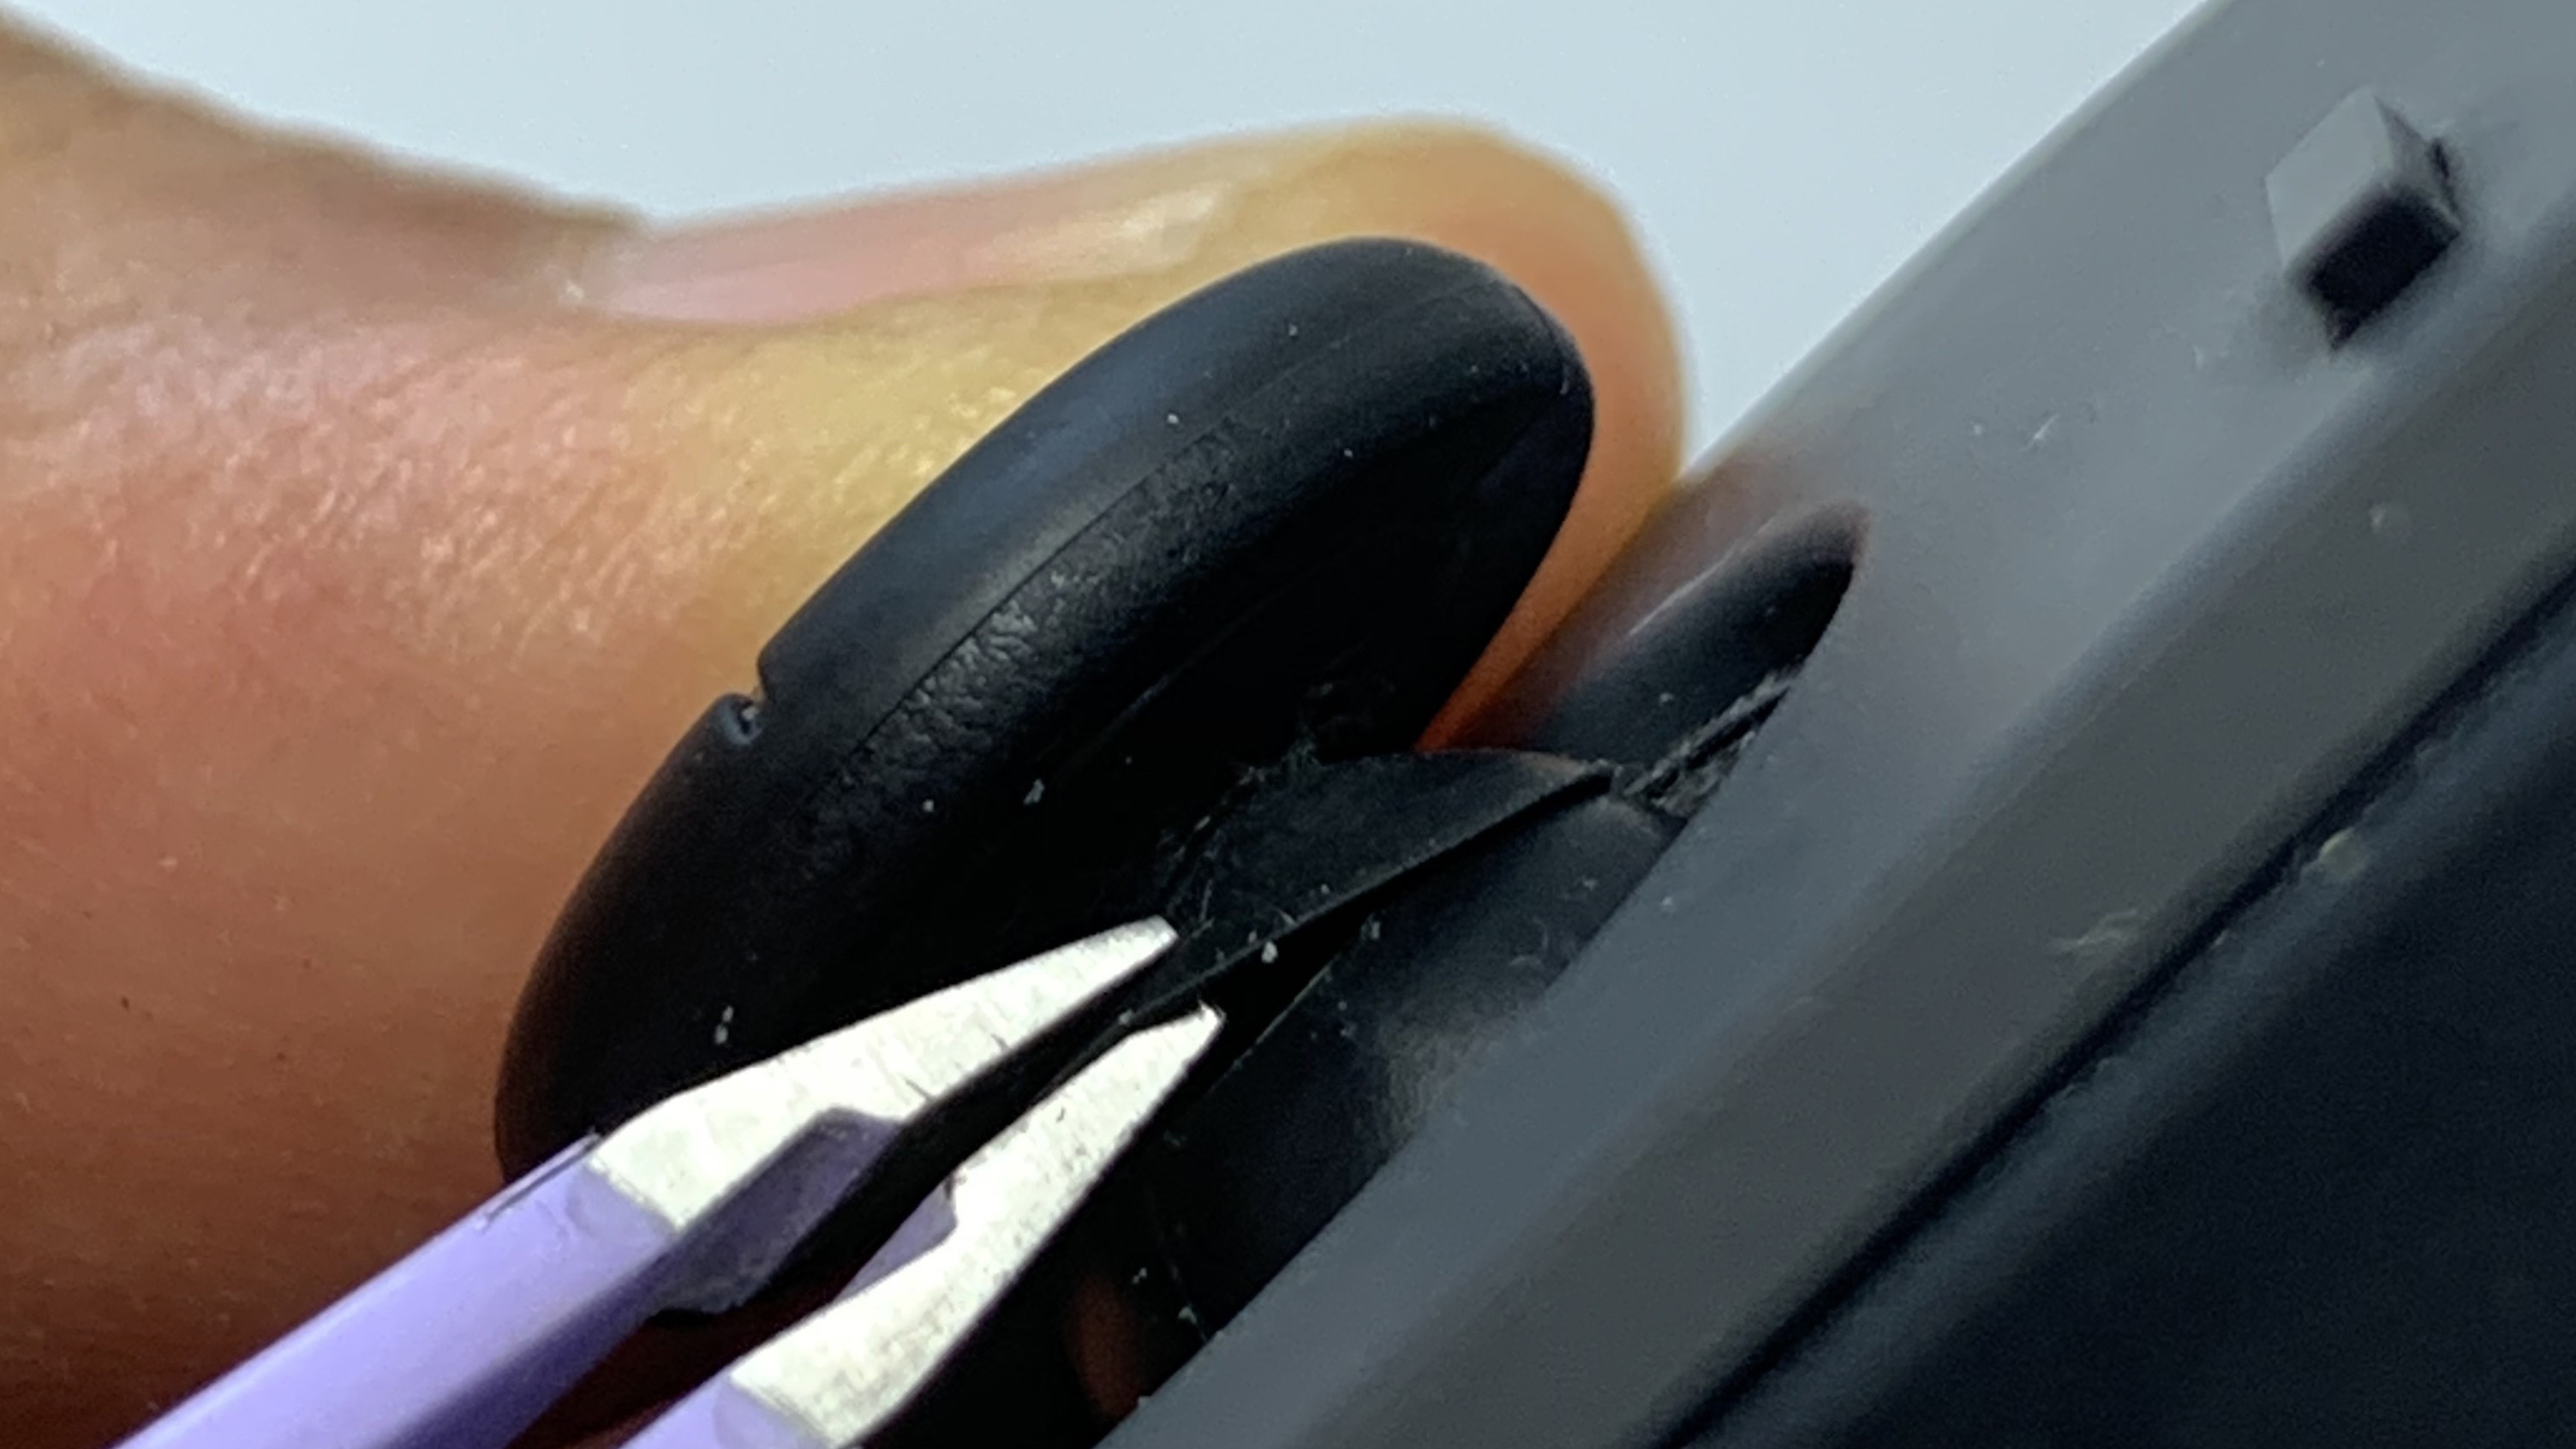
Method 3: clean the Joy-Con thumbstick
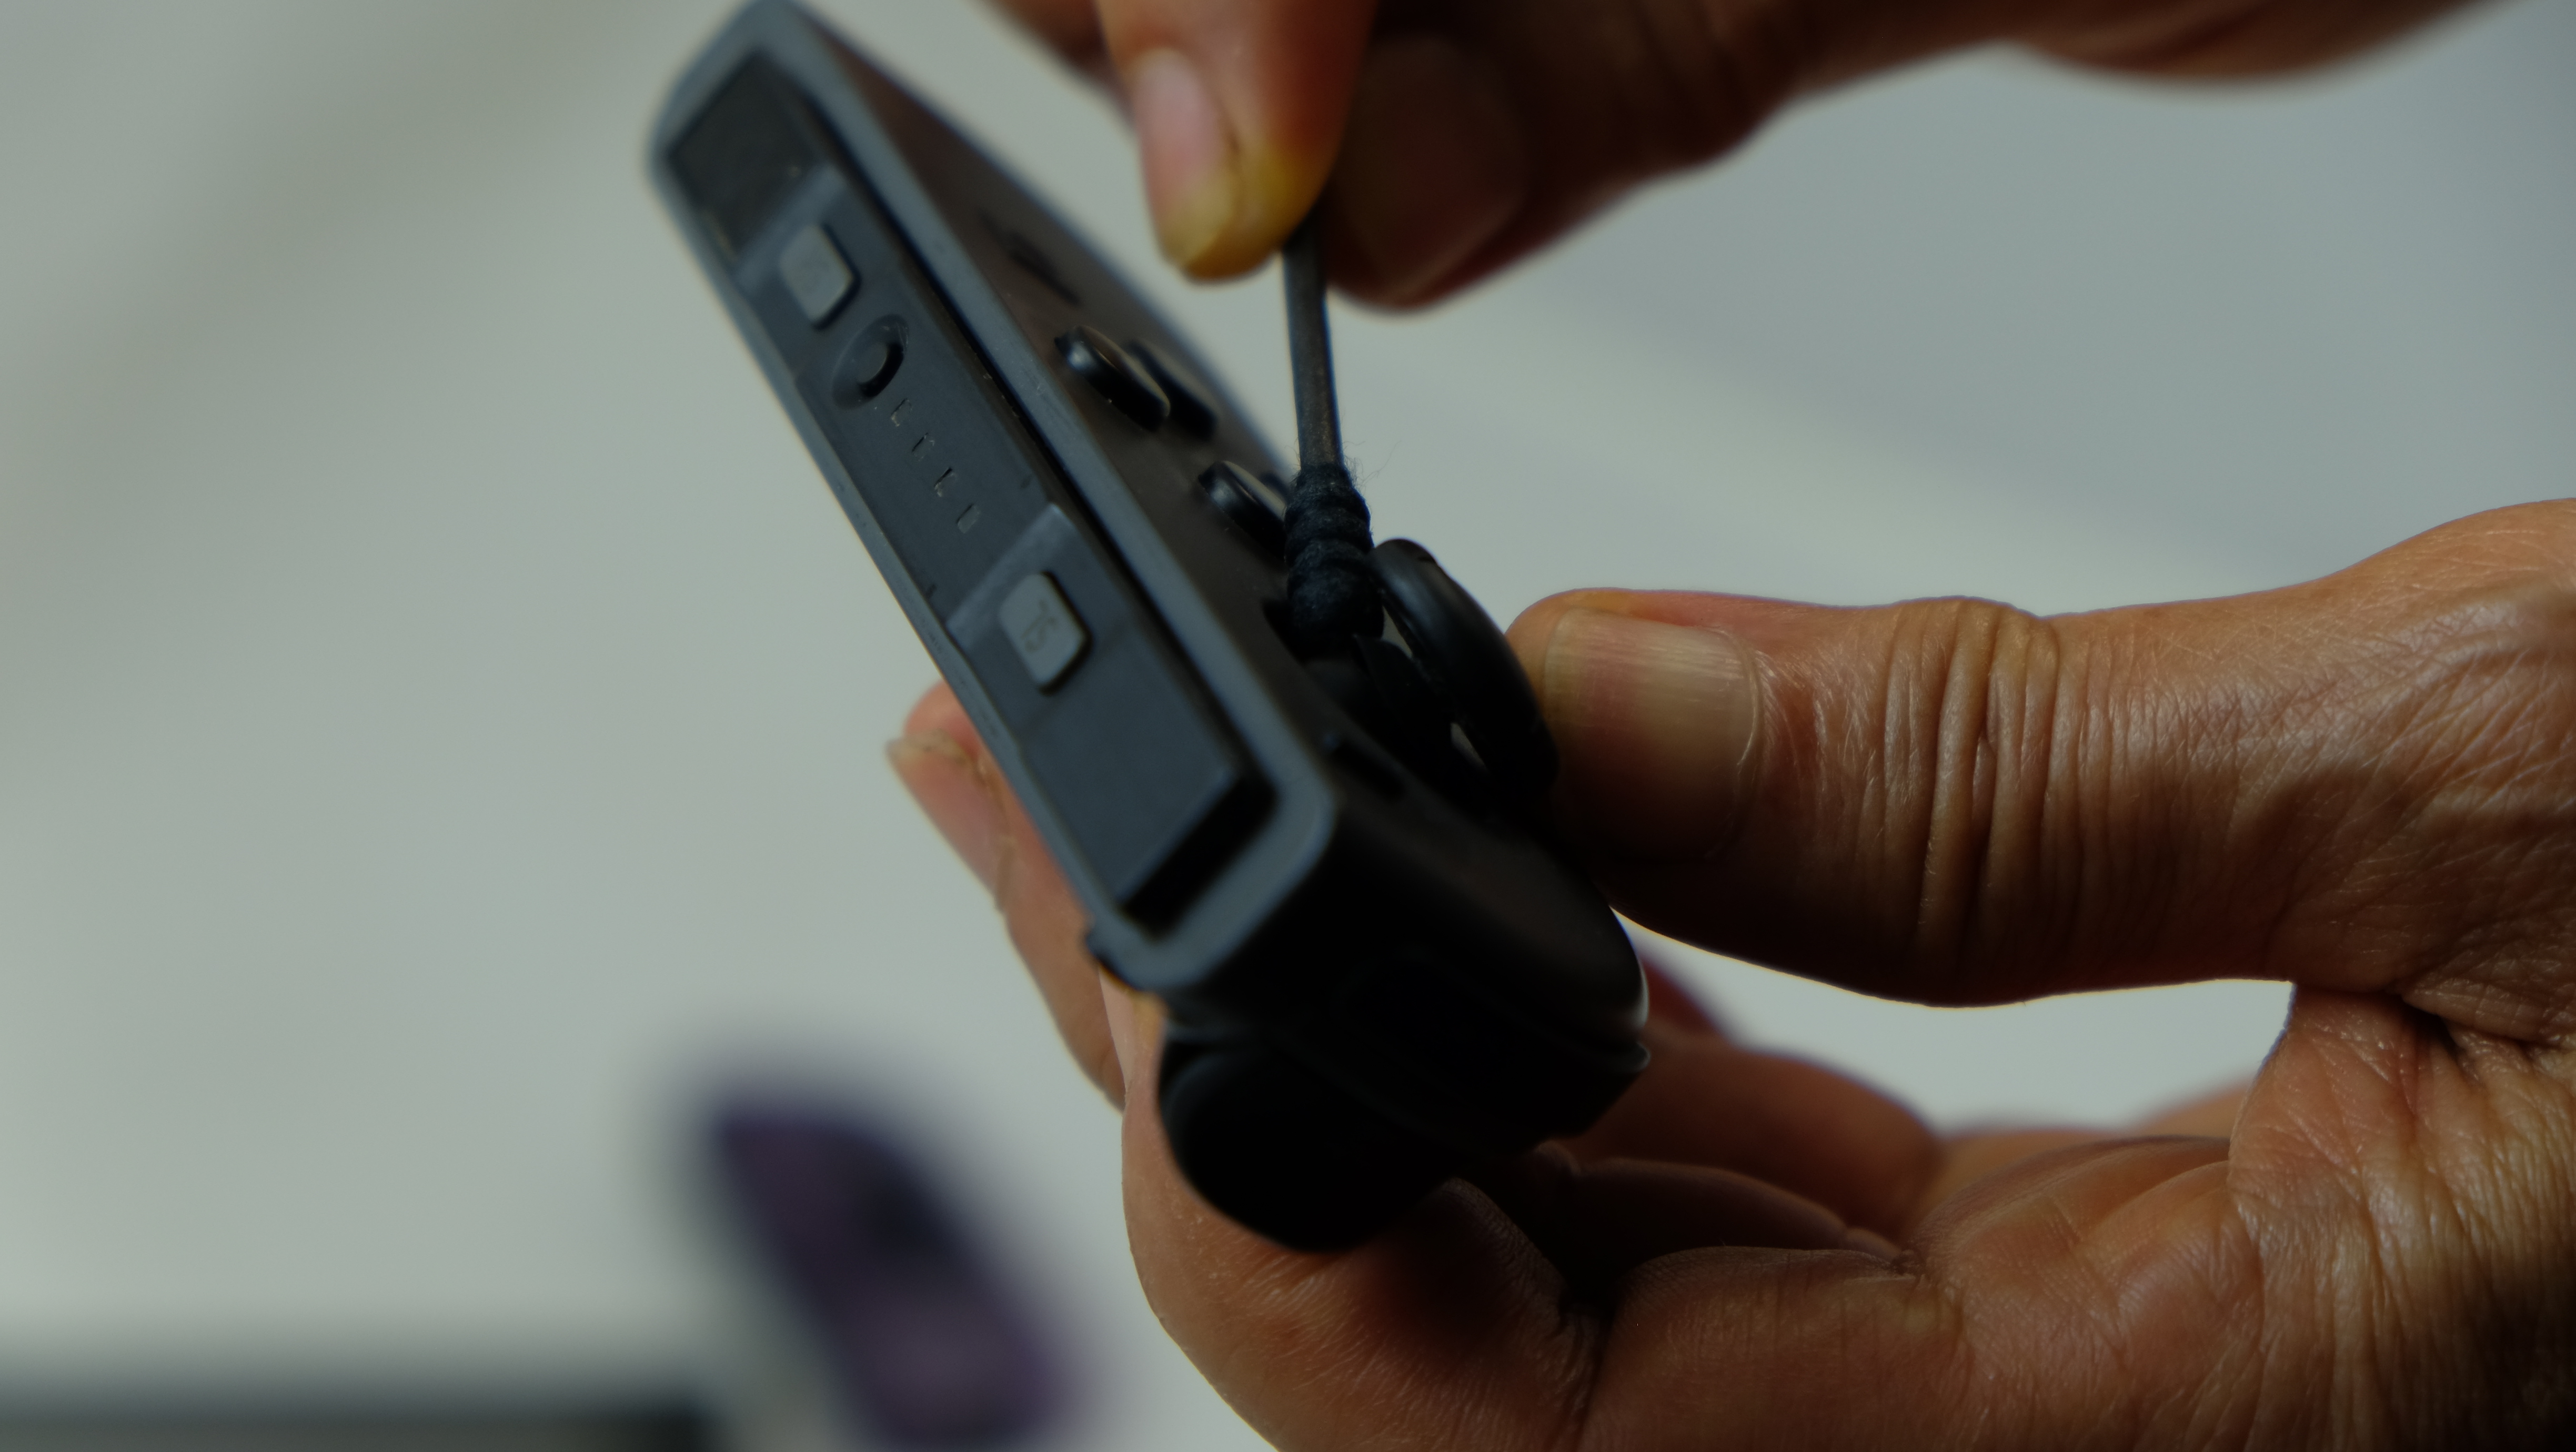
This is the simplest and least invasive method of fixing Joy-Con drift. Yous'll need contact cleaner for electronics (or isopropyl booze), some Q-tips, and optionally, a pocket-size set of tweezers.
Examine the small safety cover only beneath the 'head' of your Joy-Con thumbstick. The tweezers come in handy hither – you lot'll find a tiny rubber 'skirt' designed to keep grit and other particles from entering the mechanism within.
Spray some contact cleaner onto the caput of a Q-tip, and gently but firmly push the Q-tip beneath the safety layer. Movement the Q-tip around at dissimilar angles and make clean out as much debris every bit possible. Although contact cleaner is specifically designed for utilise on electronics, be conscientious not to drown your Joy-Con – use pocket-size, sparing amounts of cleaner. When yous're finished, rotate the thumbstick a few times to ensure that the residual cleaner gets spread effectually as evenly as possible, and let the Joy-Con dry for a few minutes.
If y'all're worried almost potentially introducing Q-tip fluff to your Joy-Con, you can also spray the contact cleaner directly, just very carefully, beneath the safety layer. You tin also effort the same method with a can of compressed air.
Reattach your Joy-Con to the main console and caput back to the first recalibration test highlighted in method i. Yous should notice an improved functioning in your Joy-Con with markedly less drift. If the thumbstick is nevertheless drifting, try repeating the cleaning procedure again – cleaning doesn't provide a 100% gear up, but it does make a noticeable difference.
Method four: replace or reassemble the Joy-Con thumbstick
Replacing the thumbstick is the riskiest method of fixing Joy-Con drift and should just be attempted if you have experience with electronics. Slap-up open up the Joy-Con also means invalidating the Nintendo warranty, so this option is the absolute last resort. Information technology involves getting a replacement joystick (the Venic 3D does nicely) and performing a chip of minor surgery. We don't recommend replacing the thumbstick yourself, especially as niggling with the Joy-Con's internal parts can crusade more than damage – we just want to make you aware that information technology'south possible.
As for Joy-Con reassembly, it'due south a headache, and unless you're a seasoned electronics skilful, this method oft ends up introducing fifty-fifty more than dirt and debris into your device.
Method 5: endeavor an emulator app
I experimental solution for fixing Joy-Con drift is available on Android 9 smartphones with Bluetooth HID: an app called Joy-Con Droid that lets players use their telephone as a Joy-Con substitute. The app has custom features to emulate turbo and TAS settings for speedrunners, but is still in alpha.
Method 6: contact Nintendo for gratis repairs
If all else fails, the safest course of activeness to fix your Joy-Con is to head to the Nintento Support website to run into if y'all're eligible for a free repair or replacement. In some cases, Nintendo will provide refunds for paid repairs.
Why does Joy-Con drift happen?
Migrate tends to bear on the left Joy-Con more than the correct. There's no clear explanation for why Joy-Con drift happens, but one hypothesis is that the left Joy-Con's antenna – located in the master board – experiences interference from other metal parts. A simpler reason might exist wear and tear, or considering dust and dirt has infiltrated the Joy-Con'southward external casing. Until Nintendo officially releases information on Joy-Con migrate, nosotros have no concrete answers.
- The cheapest Nintendo Switch bundles, deals and prices

Source: https://www.techradar.com/how-to/how-to-fix-joy-con-drift-on-nintendo-switch
Posted by: hunterlithend.blogspot.com
0 Response to "How To Repair Nintendo Switch Joy Con Thumbstick Drift"
Post a Comment